
Read the first part here
Read the second part here.
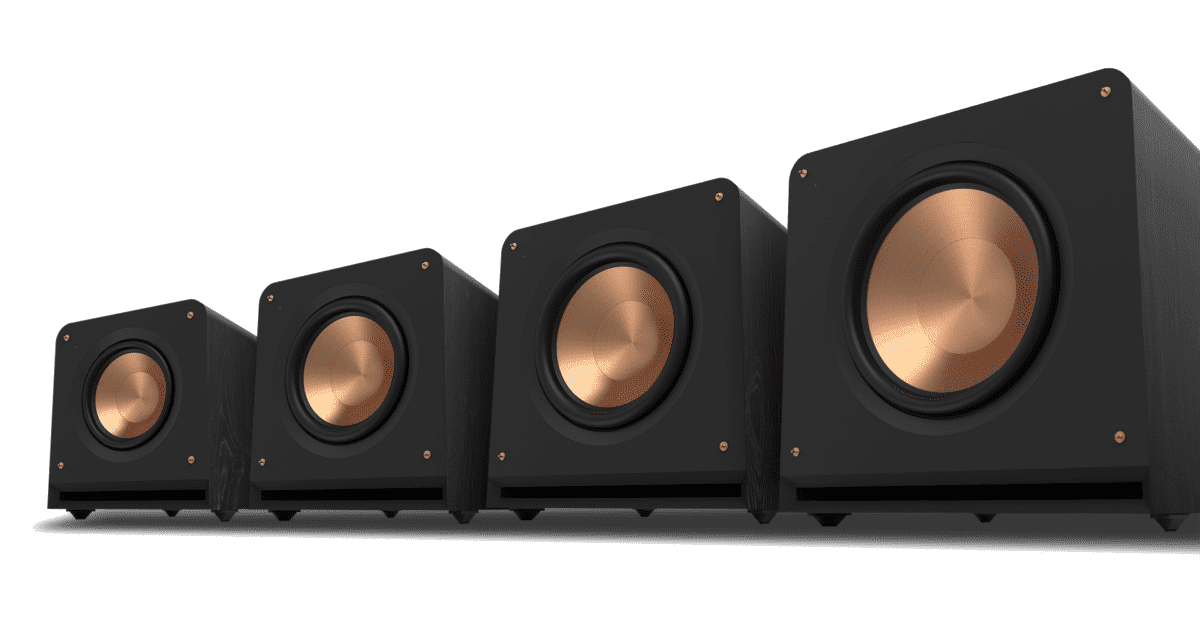
Integrating a subwoofer—and in my case, two subwoofers—into a 2-channel stereo system involves many factors. The first is finding a good spot to position the subwoofer. For this, Todd Welti’s research on subwoofer placement within a rectangular room is a great resource to read. In my first two articles in this series, I looked at 3 different methods of connecting a subwoofer to the system. In this last part, I’ll address subwoofer time alignment with the main speakers and compare 5 popular crossover strategies.
Subwoofer Time Alignment
The goal of a well setup stereo is to have, as much as possible, the direct sound from all speakers and subwoofers arrive at the listener’s ears simultaneously to reduce phase inconsistencies. The most accurate way to achieve this is to make sure the main speakers are the same measured distance to a microphone positioned where the listener’s head would normally be. Using an Impulse Response chart and test tones, you should see a single large impulse peak at time zero, which represents the listener’s location. If you see two impulse peaks, then one speaker will have to be moved closer or farther from the microphone so that the two impulse peaks become a single one, indicating successful time alignment.
Consider the picture below where the front two marching soldiers are the main speakers and the fellow behind them is a subwoofer. The front two soldiers are “time aligned”, as they are next to each other and “in phase” as their right legs are raised in unison. The fellow behind is also in phase with his right leg raised but is 1 cycle behind the front soldiers and therefore not time aligned with them. Positioning a sub behind main speakers without using digital signal processing to delay the main speakers results in slow or sluggish bass that is slightly behind the beat of the music despite the subwoofer being in phase with the speakers.

Placing a subwoofer next to and on the same plane as a main speaker doesn’t guarantee that it will be time aligned due to the subwoofer’s “Group Delay”—a delay in the signal emitted by the subwoofer’s lower frequencies, driver excursion, crossover, enclosure or signal processing. The best way to achieve proper time alignment is to use digital room correction/digital signal processing (DRC/DSP) incorporated in the playback chain.
When DSP is available, position the subwoofer where its frequency response measures best (i.e. loudest at lowest frequencies, flat or downward tilted frequency response, nulls at a frequency higher than the expected crossover point). Then, measure the closest speaker’s delay time to the microphone of the Impulse Response tone and do the same with the subwoofer. Use the difference between both figures to delay the fastest sound source. For example, if the speaker’s delay is 2ms and the subwoofer’s delay is 5ms, then DSP would delay the speaker by 3ms (5ms – 2ms = 3ms) to ensure time alignment.
When DSP is not available in the stereo chain, the subwoofer will have to be physically, rather than digitally, time aligned.* Again, using an Impulse Response test tone, move each subwoofer and measure its delay time until it matches that of the speakers. Don’t be alarmed if a subwoofer ends up against the side wall ahead of the main speaker plane. Figure 2 shows subwoofer spot ‘A’ as offering the best measured frequency response while spot ‘B’ offers the best time alignment. A good strategy is to measure the distance from the sub to the microphone, then using that distance from the microphone to draw an imaginary arc consisting of other areas that offer proper time alignment. Finally, choose the spot on the arc that delivers the best frequency response.

Crossover Settings Between the Main Speakers and Subwoofers
In the search for better stereo sound reproduction, I investigated crossover options between my main speakers and two subwoofers and compared 5 popular options commonly used: the home theatre standard 80Hz/24dB; staggered frequencies; overlapped frequencies; the highly regarded 6dB/octave slope; and the run-the-main-speakers-full-range approach. I’ve used my listening room as a “lab” to seek out the best crossover settings for each option for comparison purposes, and encourage you to likewise experiment with different crossover settings in your own room. Room effects are too unpredictable for me to recommend my findings to you with absolute certainty. Through experimentation, you should be able to discover insights into your situation and, at the very least, be entertained.
When I got my 8-channel DAC from exaSound, I paired it with JRiver Media, a popular software for organizing and streaming music that comes with rich DSP functionality. Compared to a 2-channel stereo DAC, the options for integrating the main speakers and pair of subwoofers increased exponentially with the exaSound’s 8 channels. The ability to control crossover frequency and slope, delay, polarity, volume, and parametric equalization at the individual speaker/subwoofer level was new to me as I’d never been into home theatre or multi-channel AV receivers. I was strictly a stereo guy. And while DSP tools like MiniDSP or DIRAC intrigued me, my multi-channel DAC, JRiver software, and the Dayton Audio OmniMic offer all the tools I need to optimize subwoofer and speaker placement in practically any room.
5 Popular Crossover Settings
Using the JRiver software, I compared several popular crossover options between my speakers and subwoofers. Here they are, with their descriptions:
A. “Home Theatre Favourite” filter option: borrowed from the home theatre world, main speakers and subwoofers are crossed over at 80Hz using 24dB/octave high- and low-pass filters, respectively.
B. “Staggered” filters option: the speakers are crossed over at a higher frequency than the subwoofers such that their ‘tails’—their tapering-off response below their crossover frequency setting—fill in the gap between the two crossover frequencies. That means that the speaker’s filter set to 80Hz will continue to work at 70Hz and lower to allow lower frequencies through but at quieter loudness levels; similarly, the sub’s 50Hz filter will continue to work at 60Hz and above. The stagger distance and slopes are up to the user to optimize.
C. “Overlapped” filters option: the speakers are crossed over at a lower frequency than the subwoofers with the amount of the overlap and slopes to be determined by the user.
D. “6dB-per-octave” filter option: proponents of this option espouse that shallow slopes are best for seamless integration and with little impact on phase. It’s essentially an overlapped filter with a long tail, as far as I can tell. I started with both speakers and subwoofers using 6dB filters but couldn’t get a great frequency response, so I decided to cross the speakers at 6dB with the subwoofers at a higher slope.
E. “Run The Speakers Full Range” filter option: Like Dr. Earl Geddes preaches for best bass integration, the speakers are run full range with no high-pass filter. Because I couldn’t find out what slopes his approach recommends for the subwoofers, I borrowed from the ‘D’ option and chose to cross the front subwoofer nearest the speakers at 6dB for integration while using quite a low crossover frequency. The subwoofer at the rear of the room behind the listening chair was using a 18dB slope and a higher frequency.
Testing used no equalization and focused on the bass region from 20 – 500Hz. Raw measurements were used.


Figure 3. Frequency response comparisons of five popular crossover settings. The 1st and 2nd place winners were ‘E’ and ‘C’ respectively based on how closely their actual curves matched my target curve.
The “Run The Speakers Full Range”, with the front subwoofer at a 6dB/octave slope, was the clear winner! Running your speakers full range provides more sources of bass to help smoothen the frequency response; using a low slope filter on a 15″ subwoofer requires a very low crossover point which, in this case, was 32Hz, but 27Hz and 20Hz worked nearly as well. Listening confirmed that E and C sounded best. I’d speculate that the overlapping has something to do with it. With option E, the front sub at a 6dB slope starting at 32Hz had a long tail (e.g. only down 12dB at 128Hz) and with option C, there was already a +1-octave overlap (e.g. 48Hz to 98Hz) before considering the tails of the speakers and subs. In both cases, the sound was richer, more engaging, and less thin-sounding than with options B and D. Option A was just okay-sounding.
The process of proper subwoofer integration with a stereo system involves many steps, some of which depend on whether analogue or digital music sources are used. Integration involves choices—subwoofer connection, time alignment, crossover settings, DRC/DSP—that can have a wide effect on the frequency response and perceived sound quality. For example, timbre and tonality are greatly impacted by whether a subwoofer’s and speaker’s crossovers are staggered or overlapped, by how much, and where within the frequency spectrum it occurs. As personal tastes prevail in sound reproduction quality, I encourage you to experiment. You may find that your imagination (and patience) to test, measure, and assess what speaker / subwoofer configuration works best for you has paid off with the best sound quality you’ve ever heard in your room. Good luck!
* If you don’t have DSP in your signal chain to time align your speakers with your subwoofers, the following table provides physical distances (in inches) between a subwoofer and the listening position. To apply it to your circumstances, you will need to calculate the speaker-to-chair distance and maybe contact your subwoofer manufacturer to obtain the subwoofer’s Group Delay value. Where those two values intersect in the table shows the time aligned distance of the subwoofer from the listening position.


Leave a Reply