Introduction
With the arrival of the fall-winter music listening season upon us, bringing with it countless hours of music listening pleasure to look forward to, this is a perfect time to organize your music collection and tune-up your stereo.
I’ve spent many years travelling Europe and North America improving the sound quality of hi-fi systems across 12 different countries. This article highlights some of the practices I use to help enhance people’s listening experiences.
Where to start?
Organize Your Music Collection

Whether you play vinyl, spin discs or stream music from a Network Attached Storage (NAS) or an Internet music streaming service, this is an ideal time to make sure your music libraries are well-organized and, in the case of physical media, in good physical shape.
Time to clean your vinyl? Buy a record-cleaning machine. There are a few on the market that are relatively inexpensive. If you can buy one that cleans multiple discs simultaneously, or dries the records for you, all the better. Buy outer plastic sleeves for your album covers and plastic inner sleeves for your records. Organize your albums by genre and alphabetically, or whatever system you prefer. While you’re at it, order a few new records to usher in the new cool season in style.
I stream a lot of music. If you do too, from services such as Tidal, Qobuz (my two favourites), Spotify, and Apple Music, double-check your app settings to make sure you’re streaming at the highest bitrate available.
If you stream music from a NAS, you should have your music library backed up on a separate external hard drive that’s not connected to the internet. I store my backup external hard drive in a fireproof safe in the house. It’s not a bad idea either to have an additional backup of the backup hard drive, perhaps on an external hard drive tucked away off-site from your home, at a friend’s or relative’s place.
Tune Up Your Turntable, Network Streamer or CD Player
If you have a turntable, this may be the perfect time to have it checked for stylus tip wear, arm adjustments, possible belt replacement, etc. Maybe replace your turntable mat or get a nifty new record clamp.
It’s important that your turntable be level and isolated from room and speaker vibrations to avoid smearing, feedback issues, and a lopsided stereo image. Consider upgrading to better isolation platforms and shelf units. Even butcher blocks can work against vibrations.

If you stream from a streamer, I suggest replacing the generic cheap Ethernet cable with a better-made one. Of the many models I’ve tried, the one that offered the best sound quality for the money was the Silent Angel C7 Ethernet cable. What about the best of the bunch, regardless of cost? Cardas’s Clear Ethernet cable, which is what I currently use.
If you stream from a computer, consider upgrading your computer switch to a Netgear GS108T or it’s latest equivalent, or purchasing a switch from Cisco with a built in AC power cord. This should provide an uptick in sound quality over a cheap, bog standard computer switch.
I also heard an obvious improvement when I went from having my source components plugged into an AC wall outlet to being plugged into a medical grade switched-mode power supply (SMPS), and again when I swapped out the SMPS for a linear power supply.

Consider Bringing In a Hi-Fi Expert to Audition Your System
You may be too close to your system to see the bigger picture. Why not invite your favourite hi-fi salesperson or audio expert to audition your stereo to see what they suggest? You don’t have to take their advice, but they may spot deficiencies that can be easily remedied with a few adjustments, such as to speaker positioning, or with devices that can address vibrational, acoustic, or AC issues.
When it comes to upgrades, acoustic treatment can offer one of the biggest bangs for your buck, and a hi-fi expert can help you with this often misunderstood subject. I’ve tried a variety of room acoustic products with increasing success, using bass traps, diffusers, and absorption panels. Treating a room properly can deliver as big an improvement in sound quality as a component upgrade, for a fraction of the cost.
Maybe it’s time for a component upgrade? I’m not too shy to ask a retailer to lend me a component to try out at home. It’s important that I hear it in my own system, especially if it isn’t cheap, but I also like to invite friends over to get their feedback about the product’s sound before I give them mine. Often, their opinions can be revealing and spot on, not to mention reassuring. But this comes with a caveat—just as our opinion can influence theirs, theirs has the power to influence ours, so one has to be careful not to be influenced against our better judgement.

Clean Your Components And Organize Your Cables
Are your components covered in dust? If so, it could clog them and cause them to underperform. Time to grab a slightly damp sponge and clean up all the dust on top of the electronics and shelves. Once you’re done, untangle the mess of cables in the back, but be careful not to disconnect cable then forget where to connect it after. Best to identify where your cables go so you don’t blow anything up.
A great free way to improve the sound quality of your system is to separate your power cords from your signal cables. The best solution I found to do this was to install wine racks from Ikea on the floor behind the hi-fi cabinet and route the power cords through the rack holes.
Simply unplugging and re-plugging a cable from a component can remove a buildup of corrosion and oxidation from the metal. One of my friends, who has an electronics background, is a fan of using Stabilant 22, a conductivity enhancer, at the end of his cables. It’s one of the most enduring tweaks I know of, made by Dayton-Wright of Dayton-Wright electrostatic speaker fame.
Experiment With Tweaks
Rarely have I not heard an improvement by replacing the stock power cord with an aftermarket cord made by a reputable company. For best results, start with the preamp, the streamer, and anything with a DAC in it.
I’ve also found component footers or pucks to be especially effective under my streamer, DAC, and anything that incorporates a moving mechanism, such as a CD player. More than with power cords, however, synergy between footers / pucks and the component is not a given. I’ve had a lot of success with IsoAcoustics products, but experimenting is key. If you can find a retailer that will lend you accessories to try at home, you’re in business.
Check Speaker Positioning
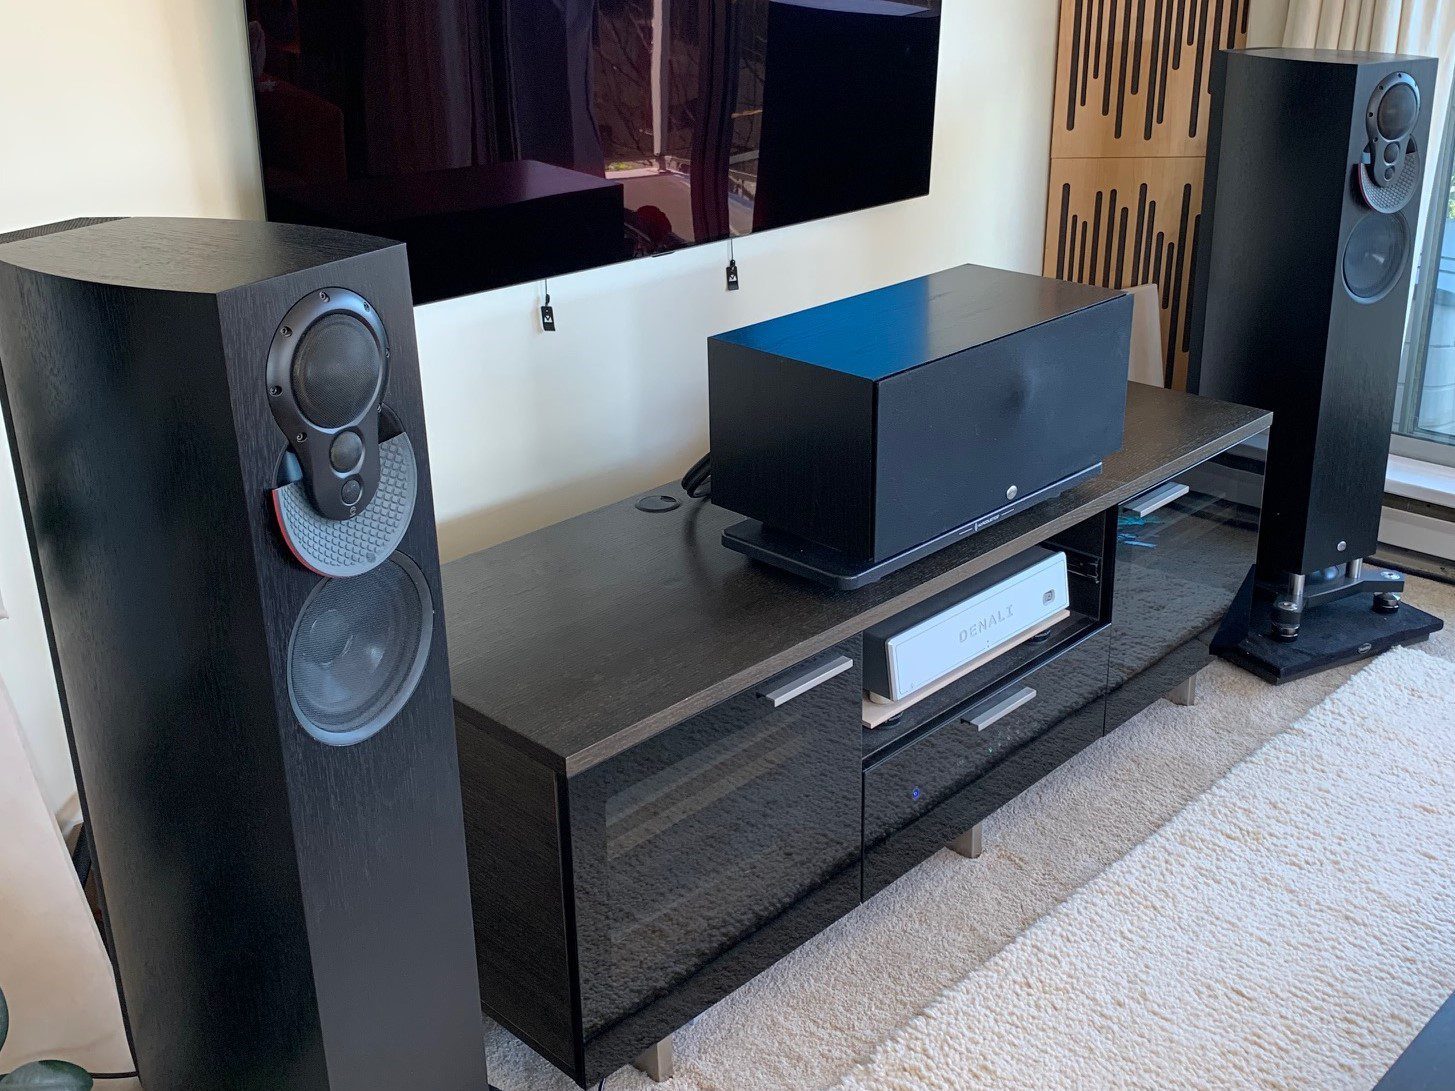
It’s not unusual for your speakers to have been knocked out of position since you last spent time painstakingly setting them up. It’s also possible that your speakers were simply never ideally positioned. I put a lot of care and attention into setting up my speakers, but I’ll finish off with listening tests to make sure the bass and soundstage are “locked in”.
Check that your speakers are level and don’t wobble when you try to jiggle them. After I’ve adjusted my speakers’ positioning, I perform a frequency sweep to ensure that the speakers sound seamless from the bottom to the top of the range. If you don’t have a test CD that includes a frequency sweep, you can stream one from the web.
Is there adequate space between the speakers and furniture? I have seen, far too often, furniture placed up-close against the speakers, boxing them in and warping their sound. Speakers need to be able to breathe to perform their best, not unlike us.
Following the steps above should help you start the fall-winter listening season on a good note. I wish you many moments of audio pleasure.


Leave a Reply